How are flange nuts installed?
2024-11-23
In the engineering and construction world, flange nuts play a vital role in securing various components and assemblies. These specialized nuts feature flanged edges that evenly distribute clamping forces and are often used in high-stress applications where conventional nuts may fail.
Contents
Step-by-Step Installation Process
Common Installation Mistakes and Solutions

Understanding Flange Nuts
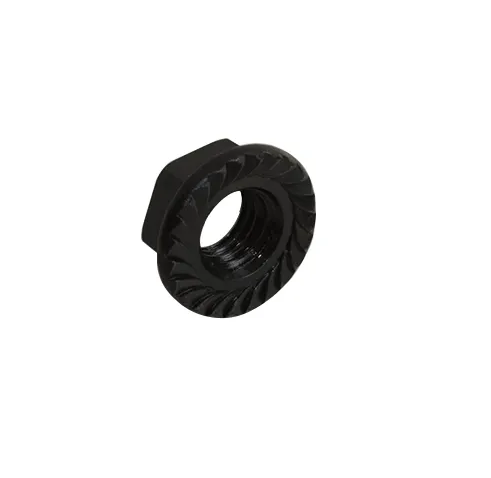
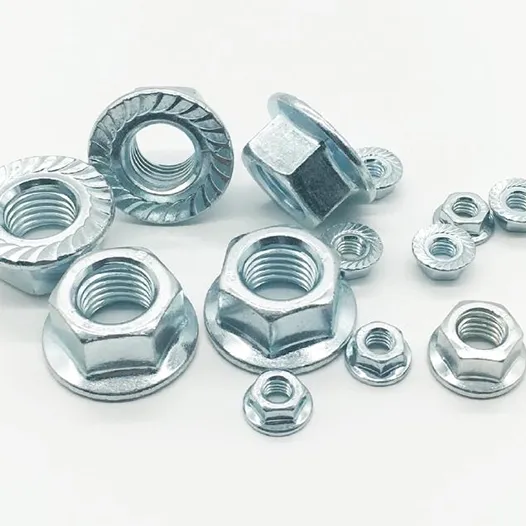
Before diving into the installation process, it is important to understand what flange nuts are and their unique features. Flange nuts consist of a standard nut body with an integrated flange that extends outward from the base. This flange provides additional support and distributes the clamping forces over a larger area, reducing the risk of material deformation or damage.
Installation Preparation
Selection of flange nuts: Select the appropriate size and type of flange nut for your application. Factors such as thread size, material compatibility, and load requirements should be considered.
Surface Preparation: Ensure that the surface on which the flange nut is to be mounted is clean, free of debris, and properly aligned. Any contamination or misalignment can compromise the integrity of the connection.
Tools and Equipment: Prepare the necessary tools and equipment, including wrenches, socket wrenches, torque wrenches (if torque specifications are important), and any thread locking compounds or lubricants that may be required.
Step-by-Step Installation Process
Positioning the flange nut: Position the flange nut over the threaded bolt or stud, ensuring that the flange is properly seated on the mating surface. The orientation of the flange should provide maximum support and distribution of clamping force.
Tightening the Nut: Tighten the nut onto the threaded shaft using a wrench or socket wrench. Apply initial pressure gradually to avoid cross-threading or damaging the threads.
Torque Application (if applicable): If a torque specification is provided, tighten the nut to the recommended torque value using a torque wrench. This ensures that the connection is neither too loose, which can cause vibration and loosening, nor too tight, which can strip the threads or damage the assembly.
Inspection: After tightening the nut, inspect the connection for any signs of damage, misalignment, or incomplete threads. Make sure the flange is fully seated and provides adequate support.
Additional Safety Measures: Depending on the application, additional safety measures may be necessary. These include using threadlockers, safety washers, or locknuts to prevent loosening caused by vibration.
Common Installation Mistakes and Solutions
Cross-threading: This occurs when the nut is not properly aligned with the bolt threads. Solution: Ensure proper alignment before tightening and use a thread tap to clean and align the threads if necessary.
Over-tightening: Applying too much force can strip the threads or damage the component. Solution: Always follow torque specifications and use a torque wrench for precise tightening.
Undertightening: Loose connections can lead to vibration, looseness, and potential failure. Solution: Verify that nuts are tightened to the recommended torque value and check their tightness regularly.


